As of July, partners can include their logo on pentest reports for our shared customers. This blog posts goes over the new functionality and how to enable it.
Access and Control Permissions for Co-branded Reports
All pentest team members have access to co-branded reports once co-branding is enabled by the partner's organization owner. Only partner organization owners have controls to enable/disable co-branding, upload a logo, and edit a logo to appear on pentest reports.
Enabling Co-branded Reports
Partner organization owners who want to enable co-branding for their managed clients should follow these steps:
1. Reach out to Cobalt at support@cobalt.io, requesting access to the co-branding functionality. Your request should include the following information:
- Your name
- Your organization’s name
- List of client organizations you manage
- Reason for contact: Need partner co-branding functionality enabled
Once our team receives this information, it will verify and enable the co-branding functionality, enabling to edit the branding of your clients’ pentest reports.
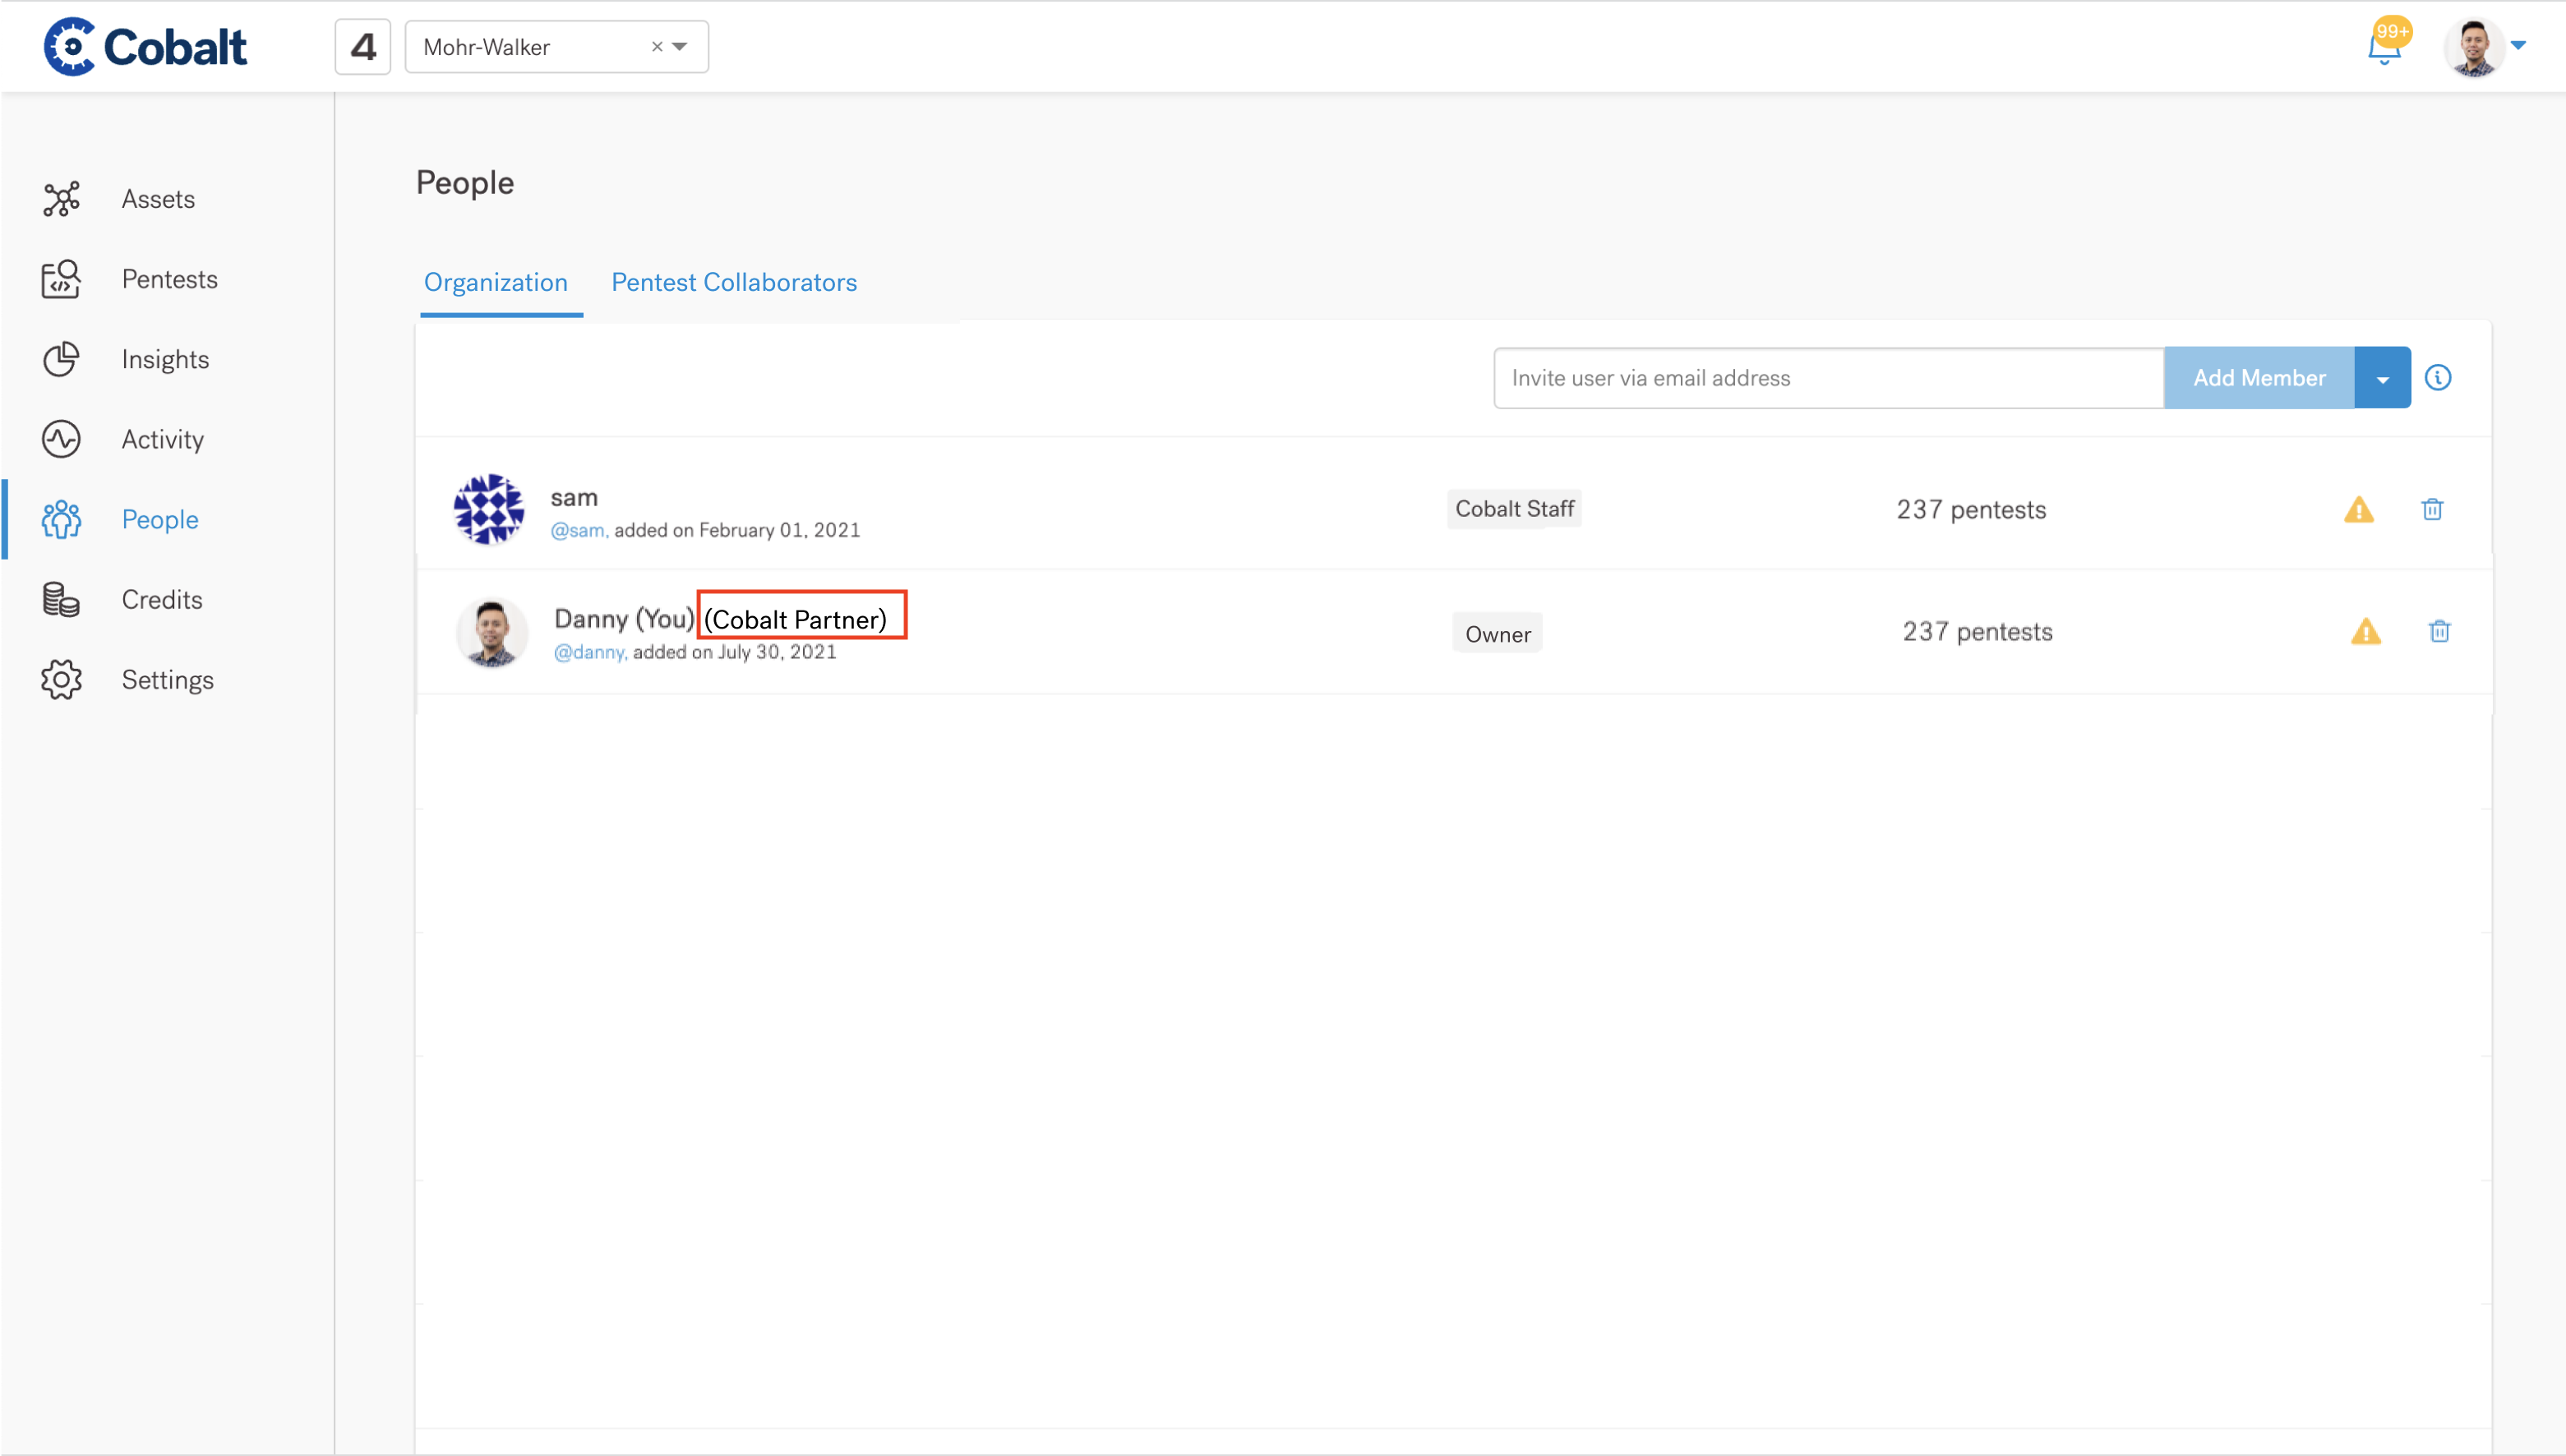
2. Once you have the co-branded functionality enabled, confirm this change by going to the People tab within your organization in the Cobalt platform.
3. Go to the drop-down in the top left corner of the platform and select the client organization.

4. Go to the Settings tab to control co-branding. You will see Report Branding controls to:
- Upload your logo image
- Apply your uploaded image for co-branding on all reports (optional)
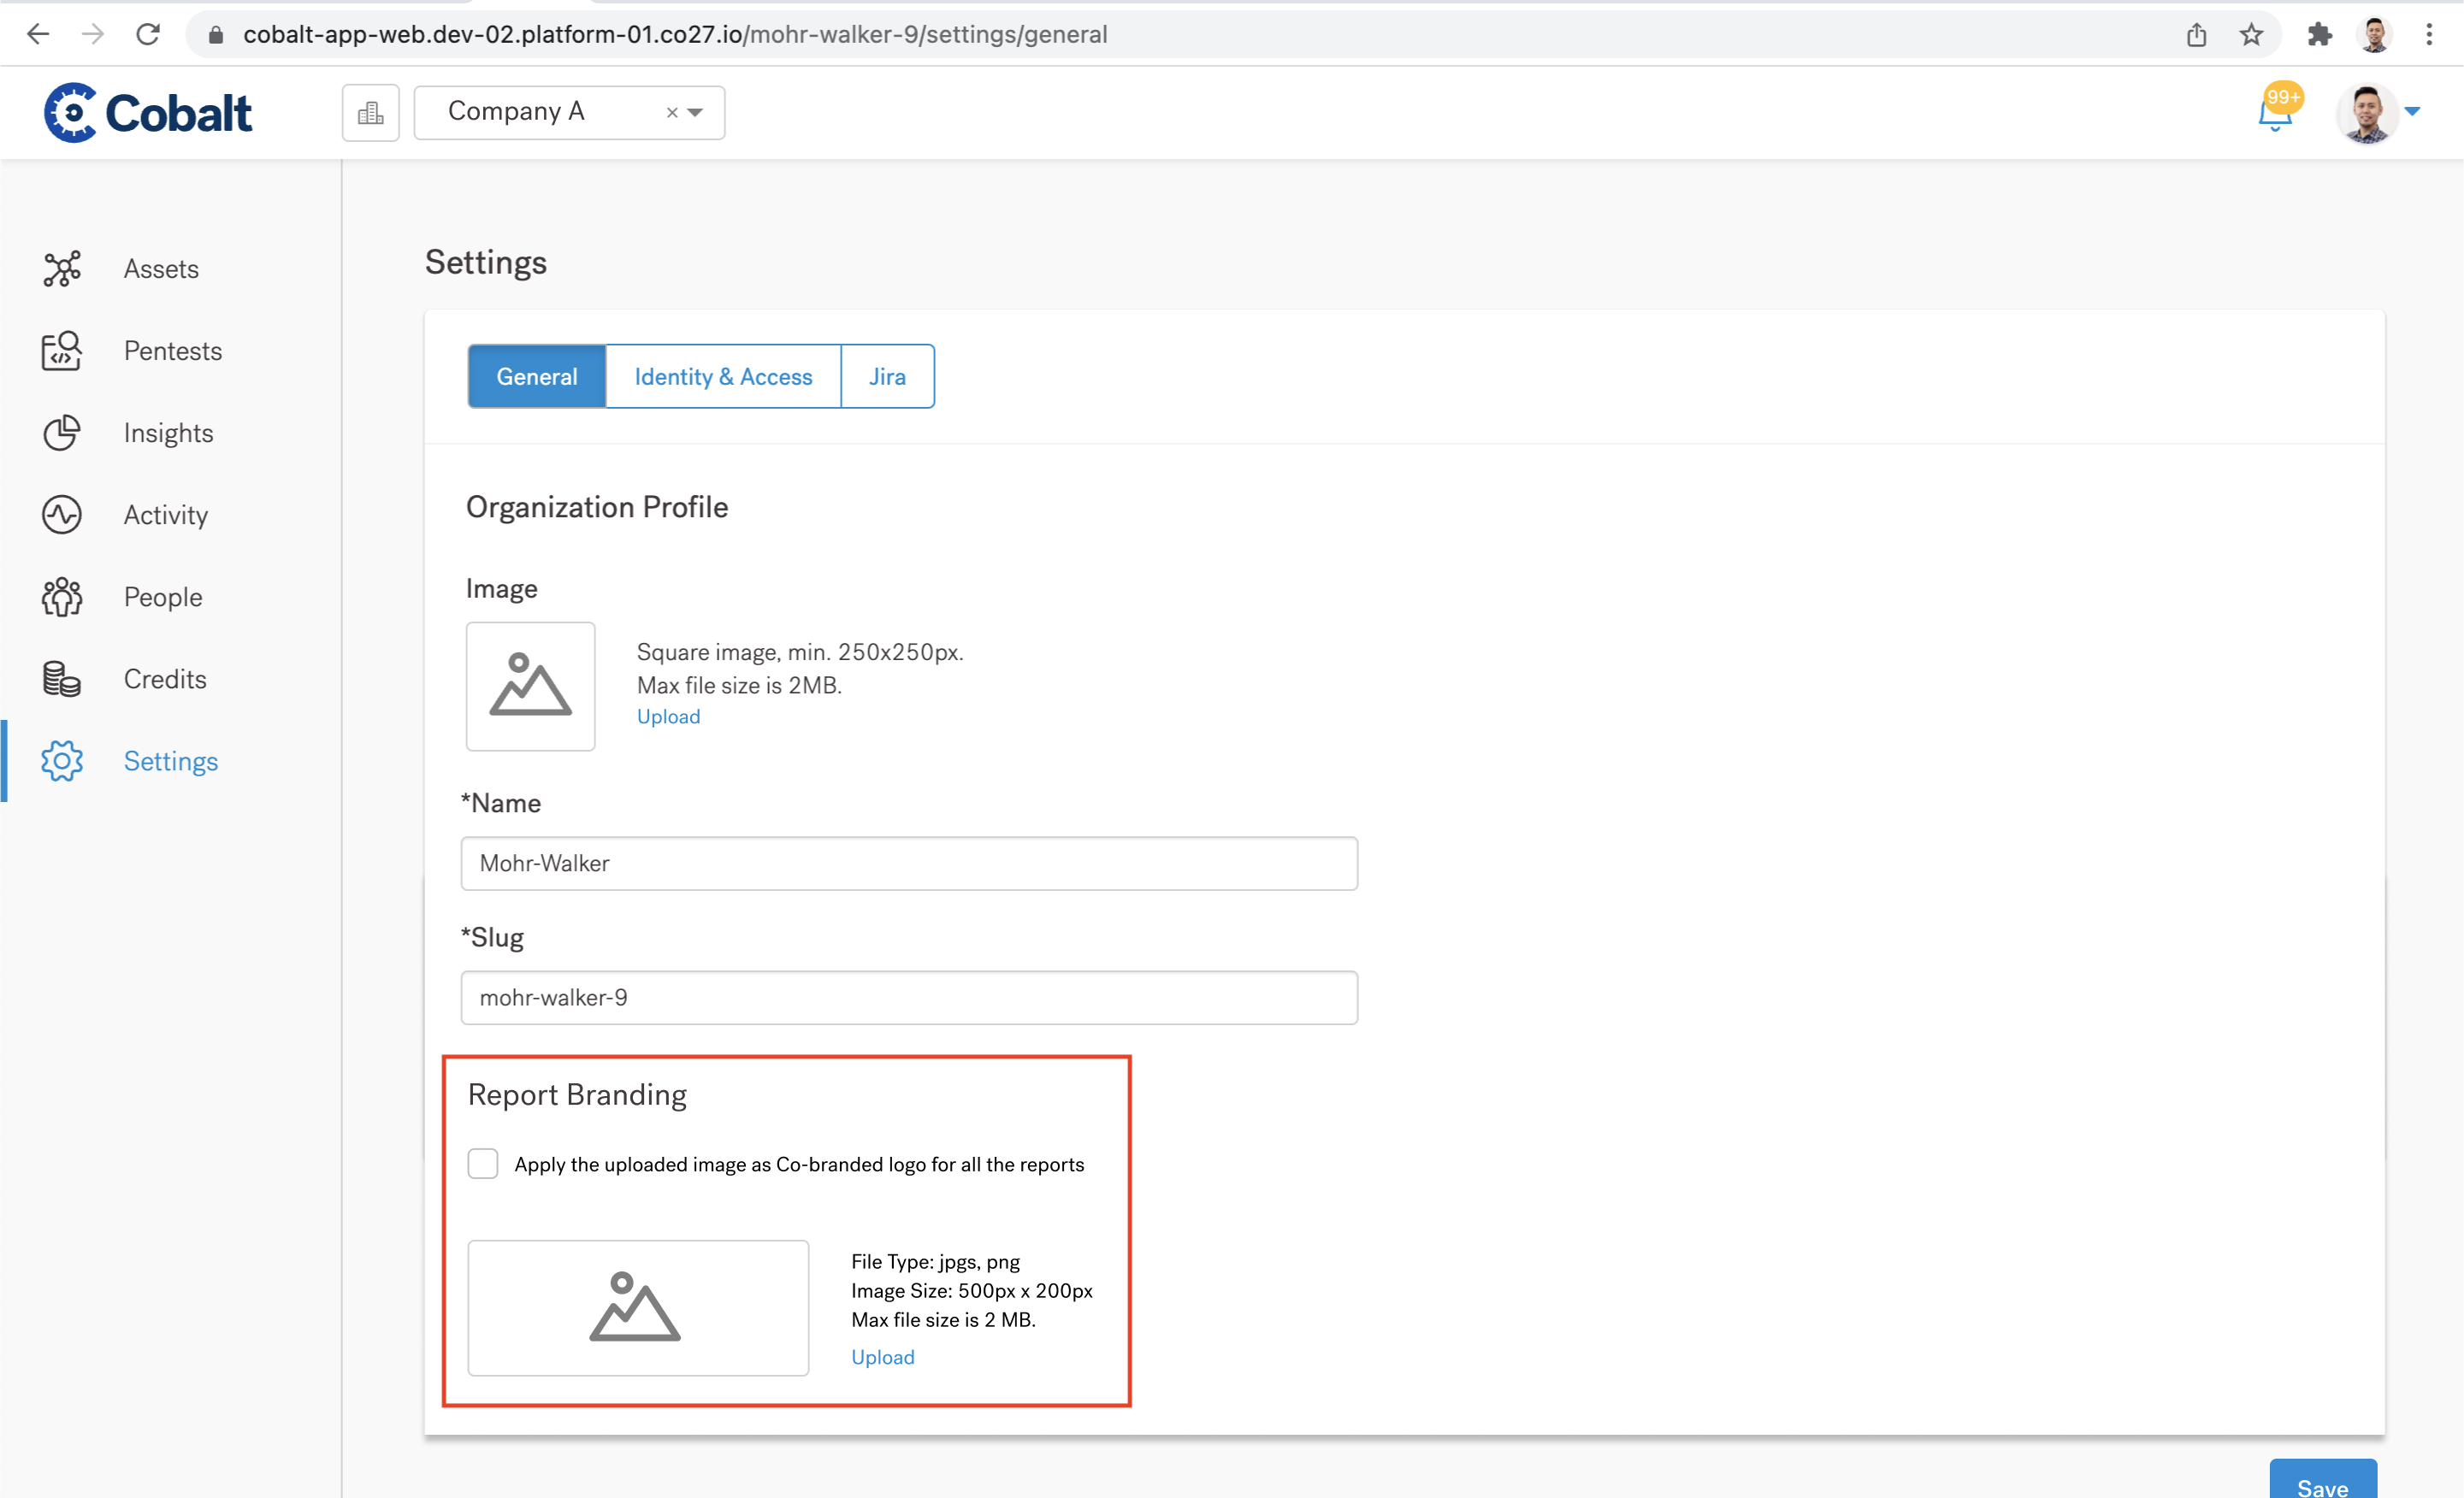
5. Upload the logo you want to be displayed on clients' pentest reports. Please note: There is a max file size limit of 2 MB and image size limit of 500px X 200px. You can crop logo files as needed.
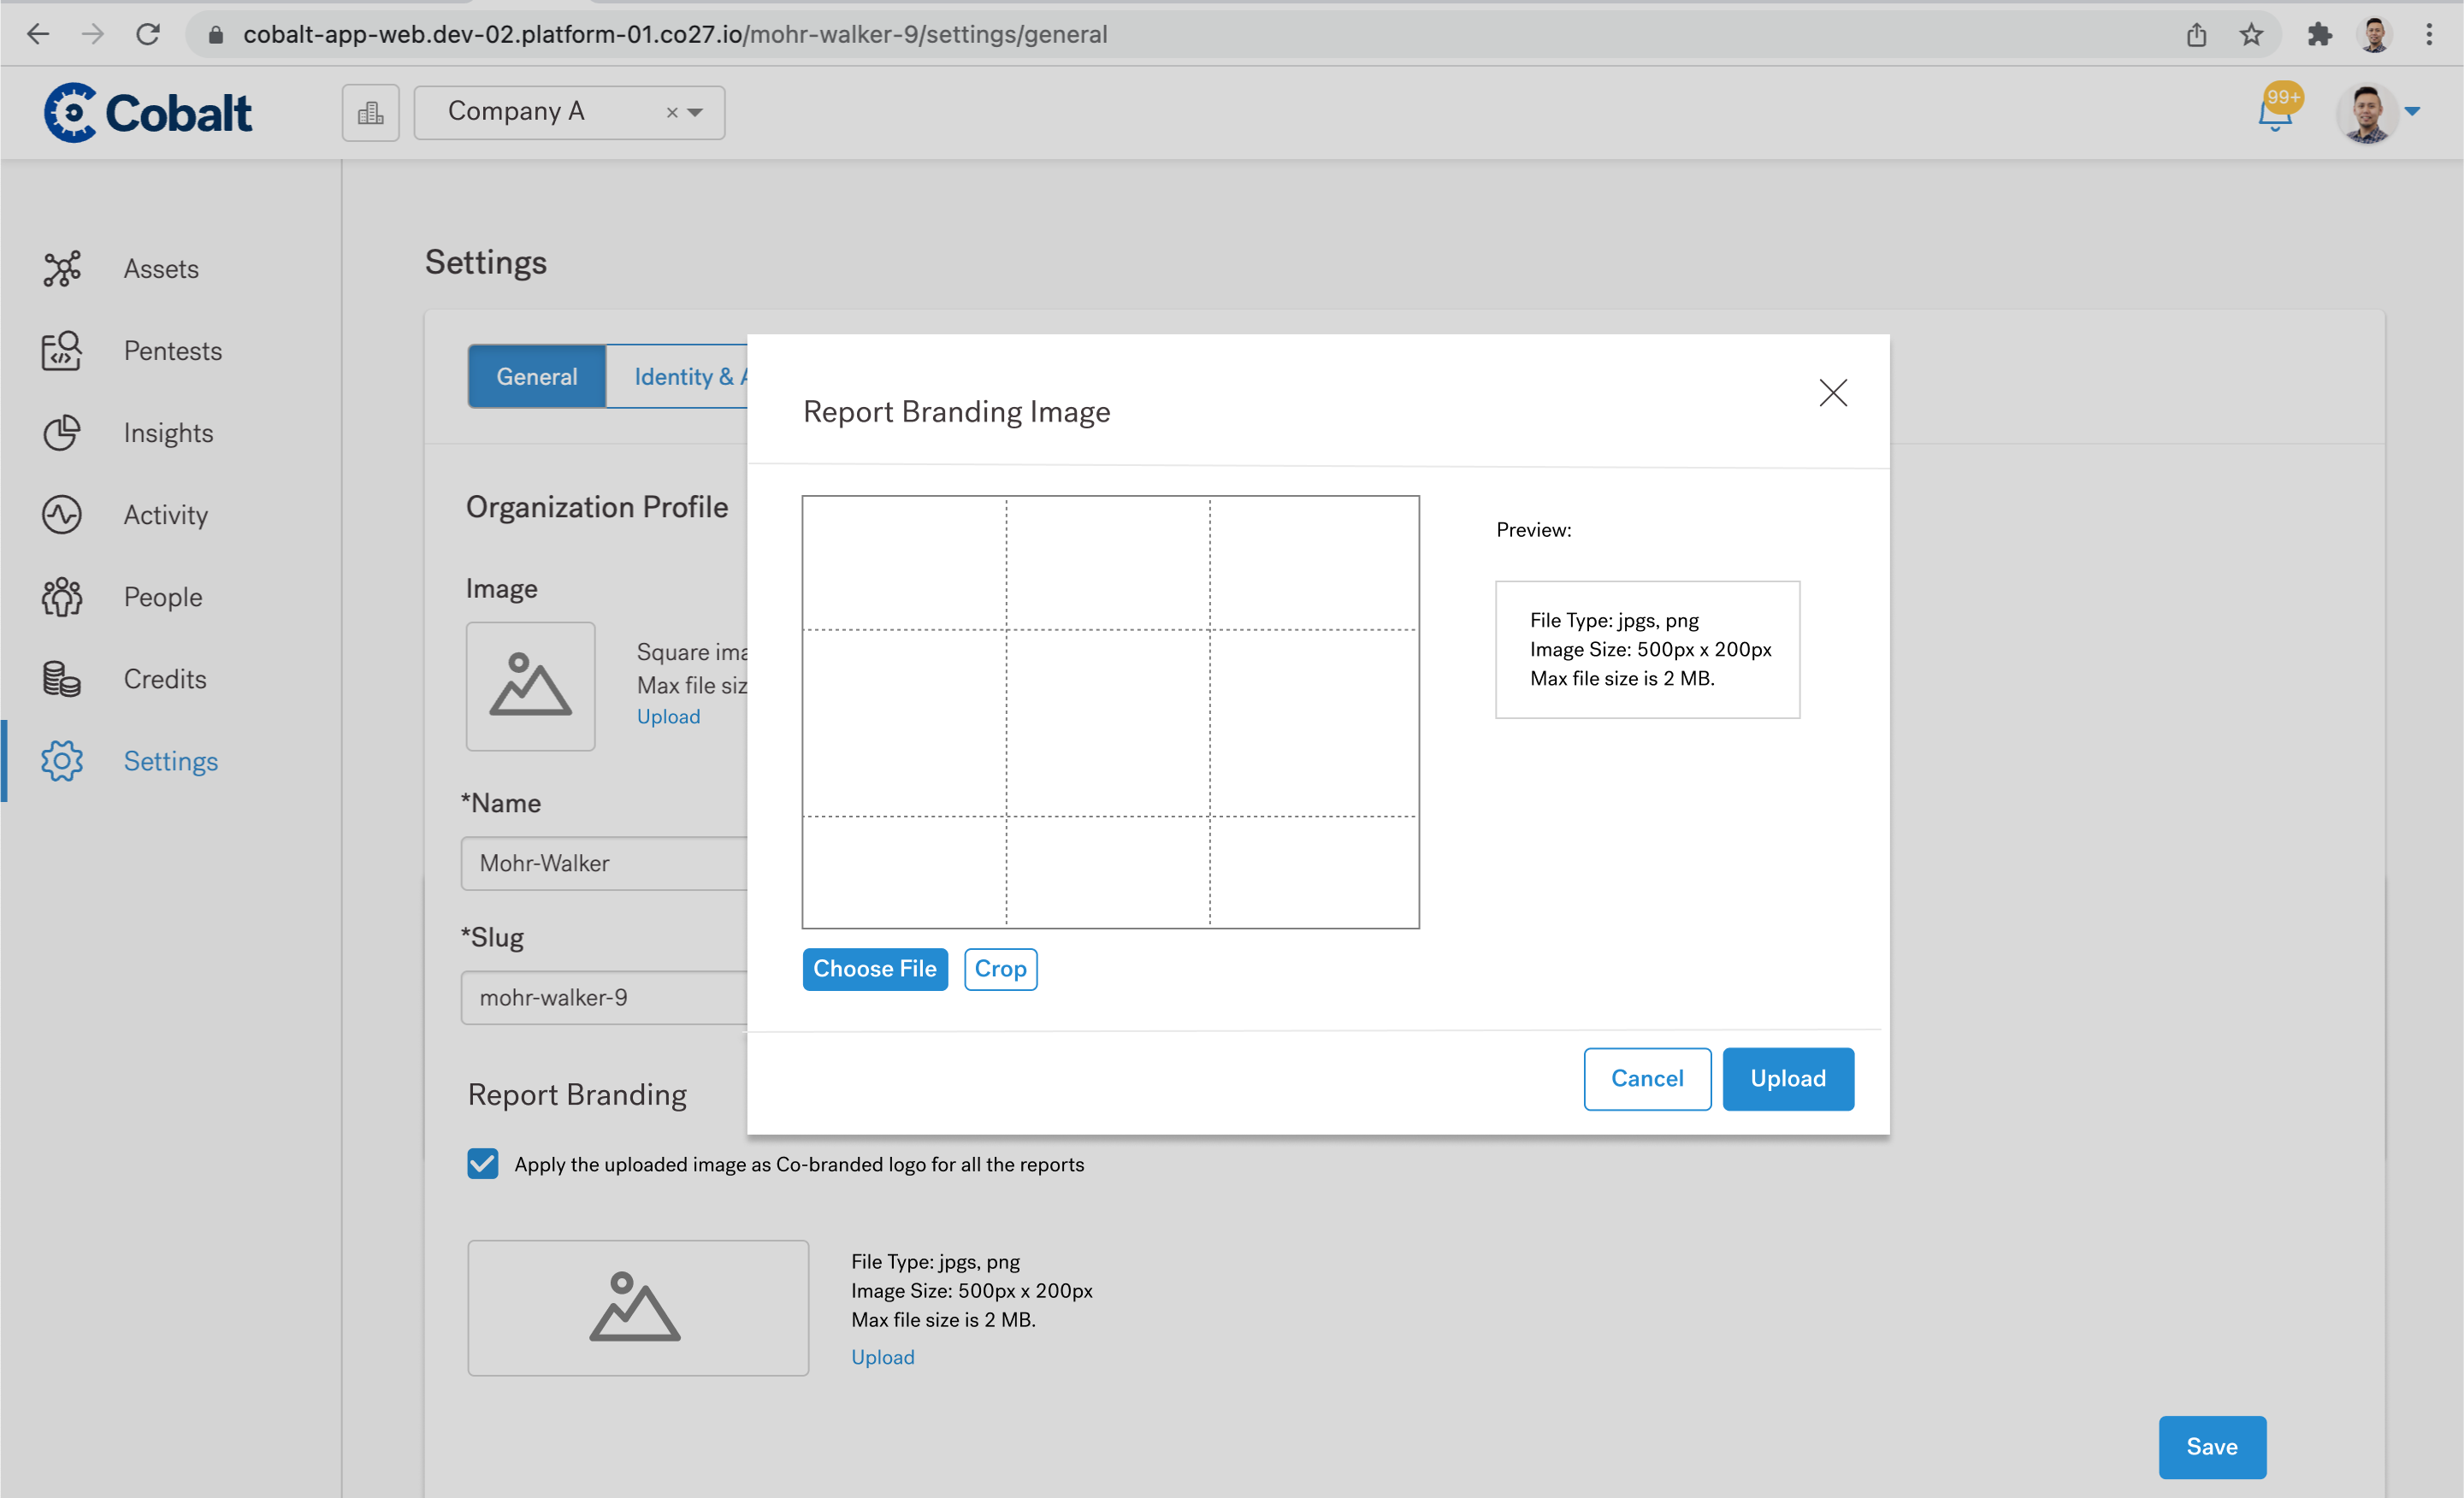
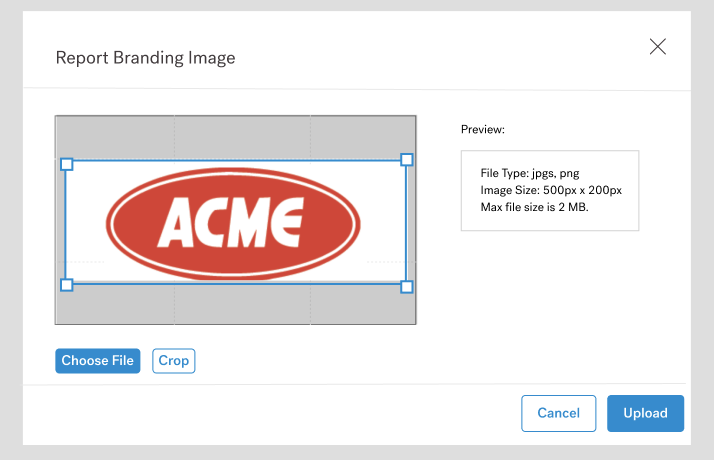
6. Click on the Upload button to save your changes. Select the Apply checkbox and click Save.
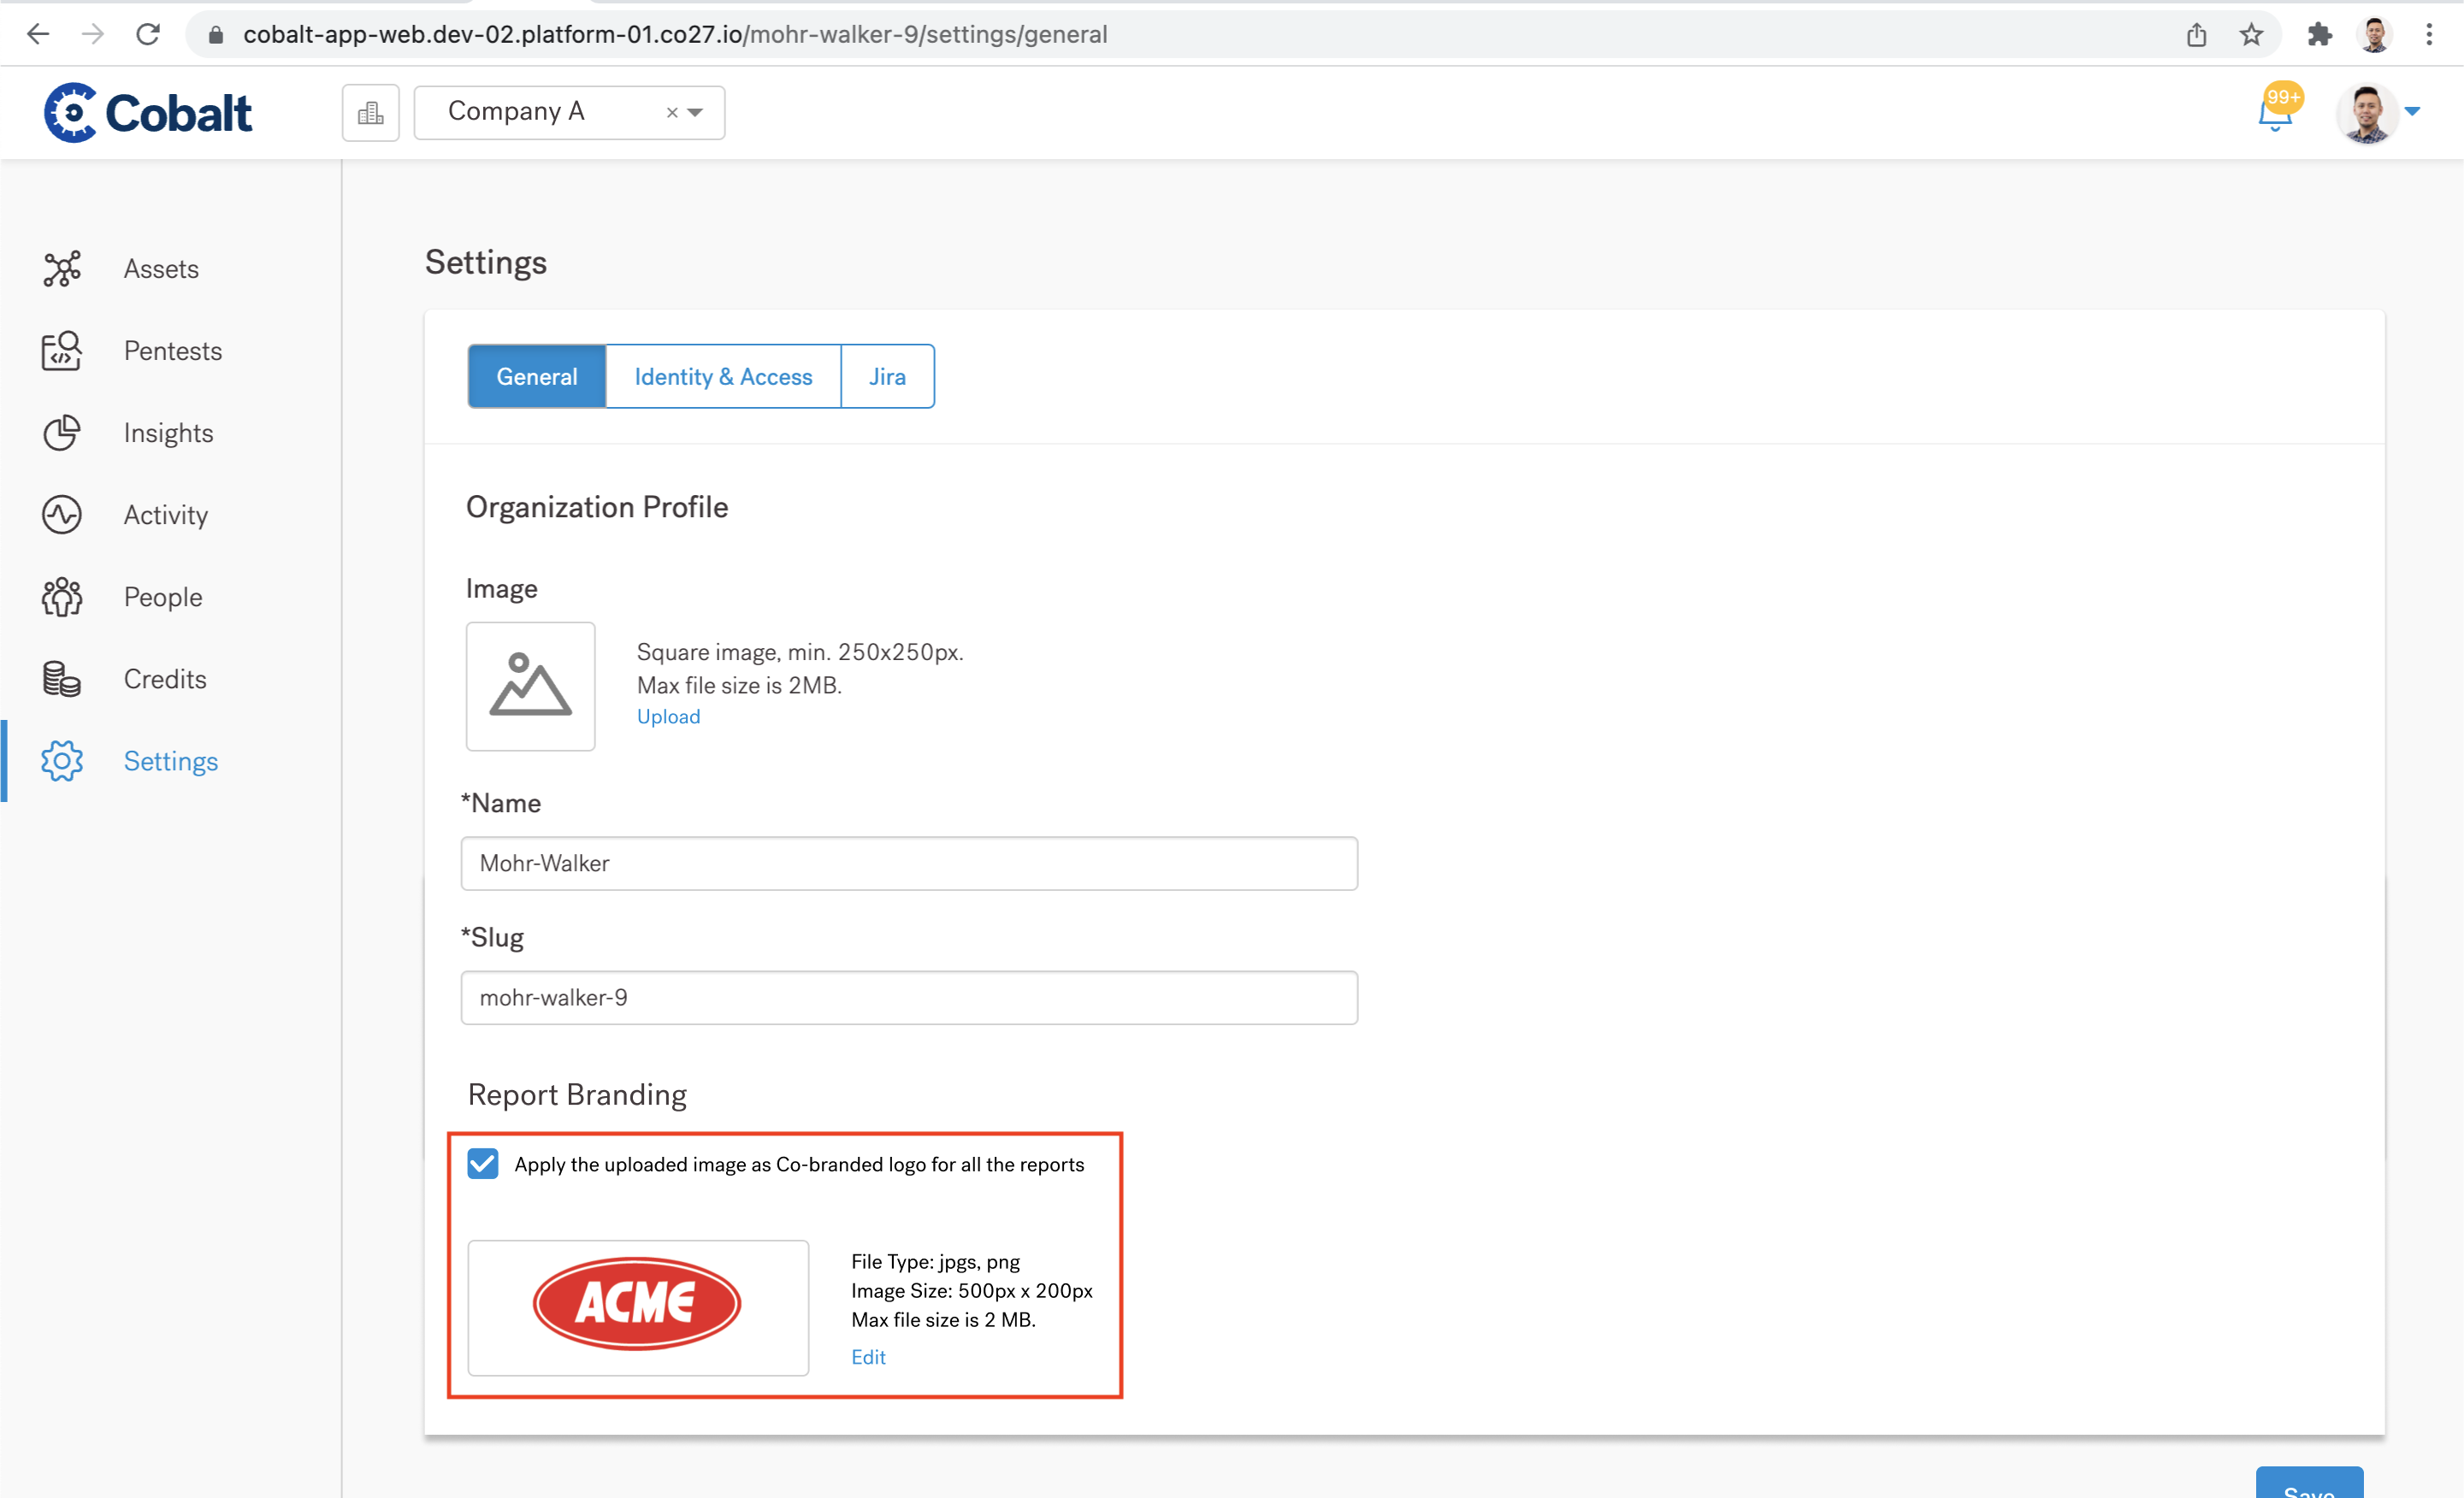
7. To confirm co-branding is working for your clients’ pentest reports, go to the Pentests tab and filter by Remediation or Closed under State. Pick a pentest from the filtered list, select the Report tab and download one of the reports — it should have the image you uploaded alongside the Cobalt logo.
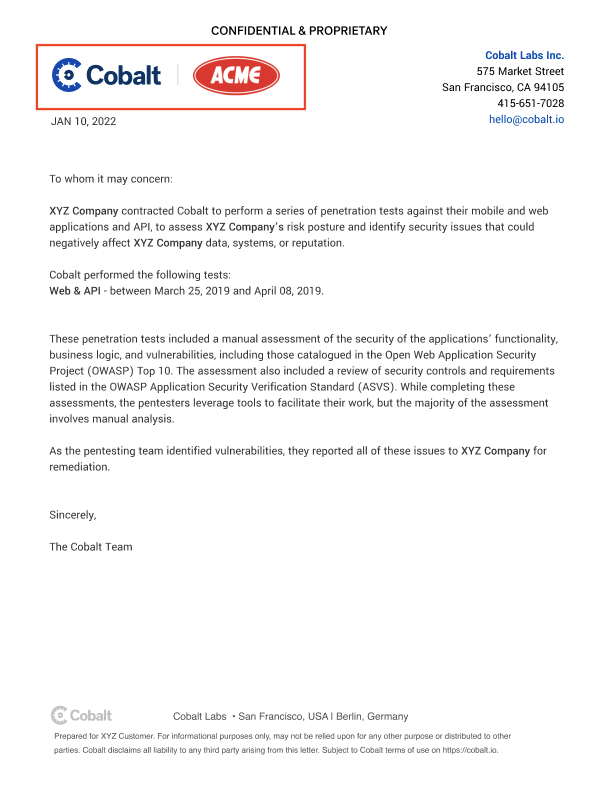
8. To enable co-branding for additional client organizations, repeat steps 3 through 7.
Disabling Co-branded Reports
To disable co-branding for any of your client organizations, go to the Settings tab in the Cobalt platform, uncheck the Apply checkbox and click Save.
In closing, see how Cobalt's pentest reports save you time and money to meet all of your security testing requirements.


