Cobalt Platform
AI-powered offensive security platform for continuous risk mitigation.
Integrations
Automate workflows to remediate vulnerabilities faster.
Artificial Intelligence
Cobalt Sage AI is the intelligence that powers every pentest.
Pricing
Explore the flexible Cobalt credit model that scales to your needs.
Agentic PTaaS
Human-led, AI-powered pentesting that scales with your attack surface.
DAST
Continuously monitor web applications and APIs for vulnerabilities.
Secure every application with flexible pentesting that combines expert-led testing, autonomous validation, and actionable results.
Learn moreIdentify exploitable risk across external networks, internal infrastructure, and cloud environments.
Learn moreExtend your offensive security program with specialized assessments, adversarial testing, code review, and program-level support.
Learn more
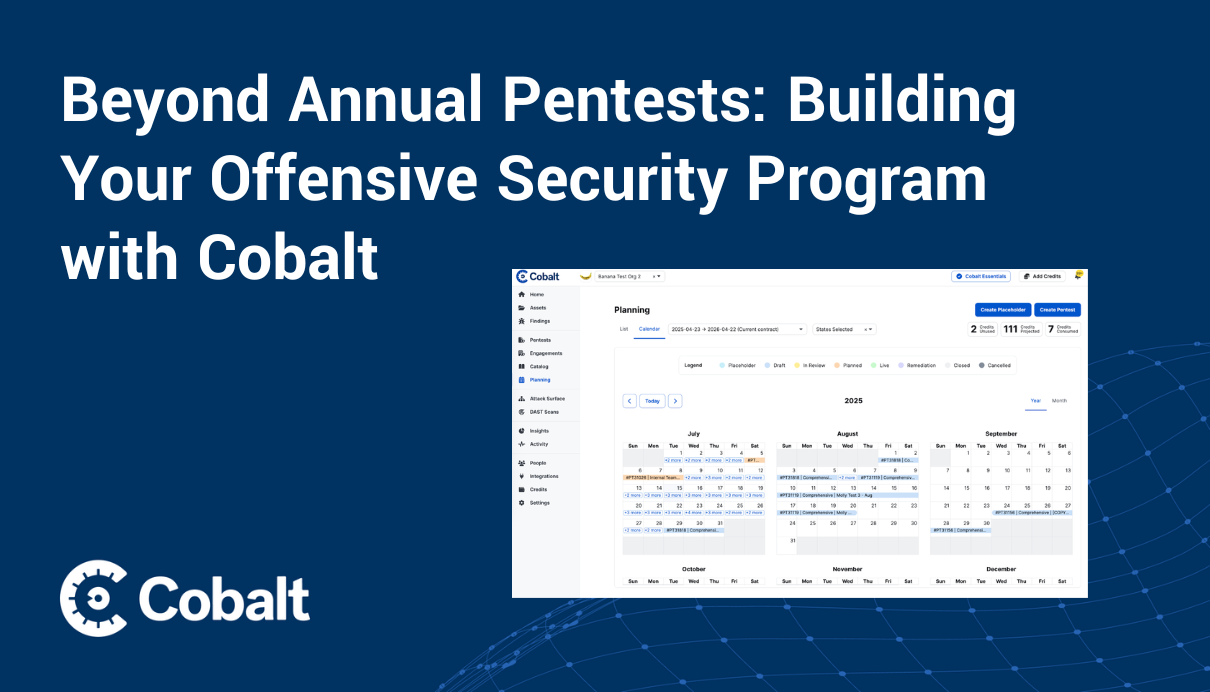
Offensive Security Program
Go beyond one-off pentests with continuous testing, fix validation, and strategic guidance.
Continuous Pentesting Program
Go beyond on-demand pentests with a continuous pentesting program.
Enterprise
Consolidate pentesting into a centrally managed, continuous program that scales with your business.
Compliance
Meet ever-evolving governance, risk, and compliance requirements with expert-led pentesting.
Small Business
Comprehensive pentesting to meet compliance requirements.
Secure SDLC
Embed proactive security practices across the entire software development lifecycle.
Financial Services
Compliant, data-driven security testing strategies for banking, wealth management, and fintech platforms.
SaaS/Tech
Built for modern software and tech companies looking to accelerate their offensive security programs.
Healthcare
HIPAA-compliant security testing solutions designed to improve patient outcomes and efficiency.
Insurance
Secure and reliable cybersecurity solutions designed for carriers, agencies, and brokers.
Resource Library
Essential reading and toolkits for modern cybersecurity professionals.
Blog
Sharpen your skills with expert commentary and practical security advice.
Demo Center
Explore the features, insights, and automation that help teams deliver high-impact pentests.
Customer Stories
Learn how real customers benefit from the Cobalt Offensive Security Platform.
Webinars & Events
Live and on-demand events and training for today's most pressing security challenges.
Learning Center
Learn the fundamentals of offensive security and strengthen your cyber defenses.
Partners
Explore the Cobalt partnership network and apply to become a partner today.
Newsroom
Read the latest news stories and press coverage.
About Us
Learn how Cobalt infuses manual security testing with speed, simplicity, and transparency.
Contact Us
Get in touch with a member of our team.
Leadership
Meet the executive leadership team driving our mission.
Cobalt Core
Meet the community of skilled and highly vetted pentesting experts.
Careers
Join Cobalt to help us redefine and reimagine offensive security.
Become a Pentester
Apply to join our elite community of freelance pentesters.